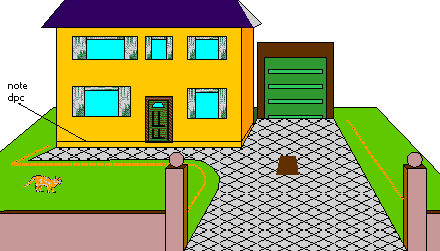
| Mark out the area of the planned paving, allowing approx 300mm over at each free edge to make handling materials and haunching of edgings or kerbs that much easier. Use sand, a spray marker or string and stakes to mark out the area - see Setting Out page. Make sure you know the approximate location of any services such as electricity, gas, cable tv etc - see Working Safely page. | |
 | |
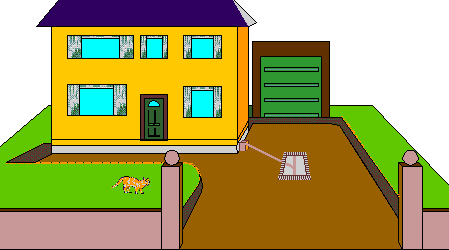
ExcavationDig off as required, and dispose of spoil. Dig depth for a typicaldomestic driveway is 200mm below finished paving level, based on 100mm sub-base, 40mm sand bed and 60mm block. Typical builders' skips hold approximately 4.5 m³ of excavated material, which, assuming a 200mm dig depth, works out that each 20-25 m² of paving will require 1 skip to dispose of spoil. Remember that excavated material bulks up by 20-30%, so each 1m³ dug out will become 1.3m³ for diposal. | |
| Make sure any soft spots are excavated and backfilled with compacted sub-base material. Remember, it's better to dig too deeply than too shallow. See also sub-grades page. Install any drainage that's required and haunch with concrete. | |
 | |
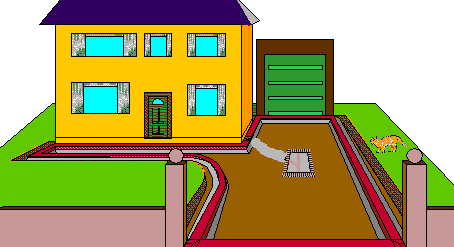
Edge CoursesSet up taut string lines to guide line and level of edge courses.Lay edging bricks on concrete bed. Once you are satisfied that the straight lines are indeed straight, and that the curves are 'sweet', the edgings should be solidly haunched with concrete at least 75mm thick. | |
 | |
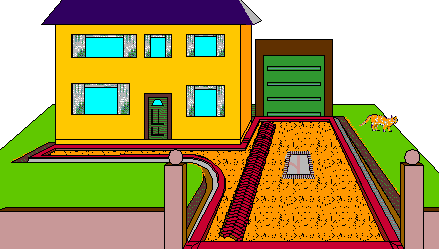
Sub-baseSpread, level and compact a minimum 100mm thick layerof sub-base material. This sub-base should be profiled or graded to match the planned profile of the finished paving and should be accurate to ±10mm. Make sure there are no voids within the sub-base - any such voids should be filled with stone dust or grit sand and compacted before laying the bedding course. | |
 | |
BeddingSpread, level and compact bedding sand, and screed tocorrect level. If using a 45° pattern, lay out starter course of blocks square or parallel to the building. 90° patterns are best started at a corner or main edge of the building. | |
 | |
Block layingContinue to lay all full blocks, making sure you workfrom a section of already laid paving, not from the screeded bedding course. When all the full blocks are laid, check for alignment by checking the lines with a taut string line and adjusting as necessary, then cut in at the edges. | |
 | |
Finishing offFix Recess Trays and gully covers, if necessary. Checkpaving for compliance and compact the paving with a vibrating plate compactor (wacker plate). Make 4-6 passes over each section of paving, alternating passes at 90° to the previous pass. With clay pavers and some of the more decorative concrete blocks, you may need to use a mat attached to the base of the plate compactor to prevent spalling damage to the edges of the bricks. Brush-in dry jointing sand and make final compaction. | |
 Page 4 | |